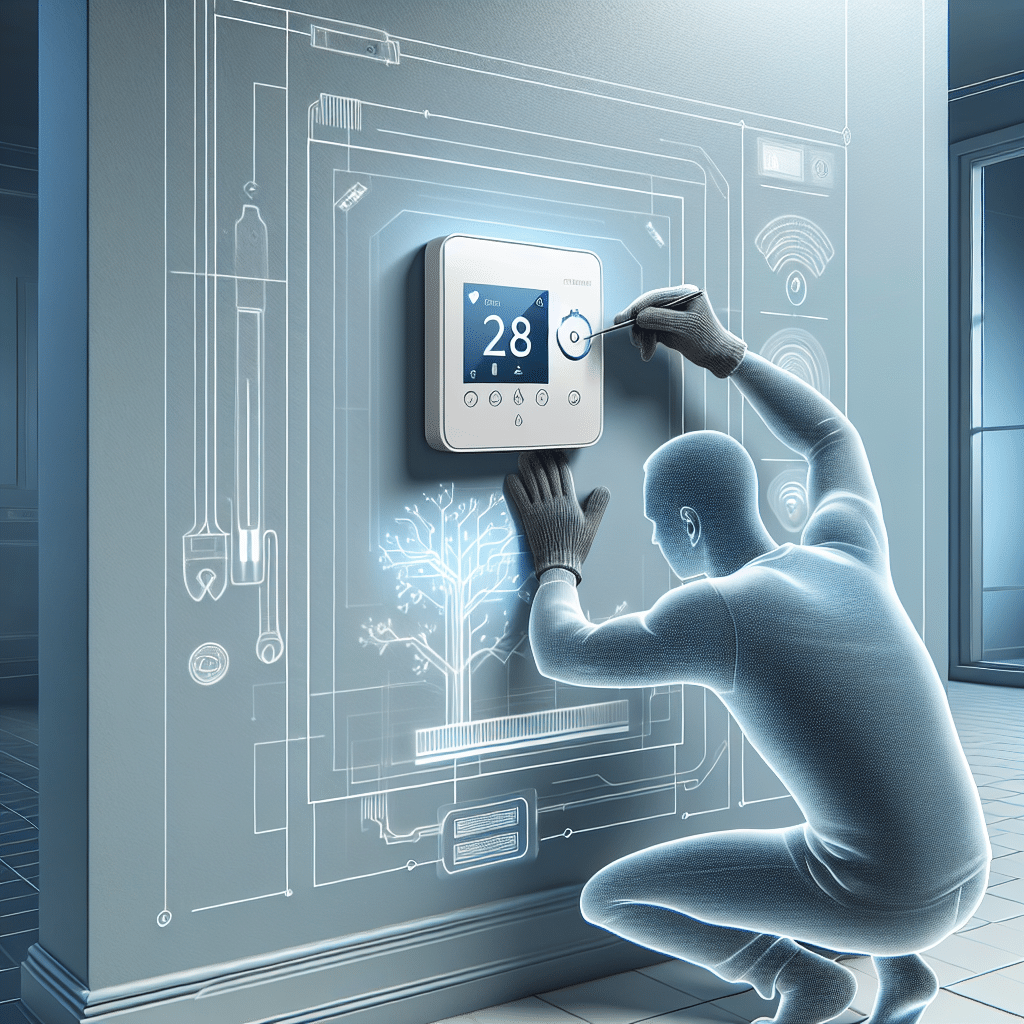
Best Practices for Installing Smart Thermostats
-
Choose the Right Smart Thermostat
Before you begin the installation process, selecting the appropriate smart thermostat is crucial. Evaluate compatibility with your HVAC system, features such as geofencing, remote access, and energy-saving modes. Research popular brands and read user reviews to understand the best option for your home. -
Assess Your Current Installation Site
Inspect the existing thermostat location. Ensure it is installed away from drafts, hot air vents, and direct sunlight to avoid erroneous temperature readings. A central location in a living space often provides the most accurate readings for climate control. -
Turn Off the Power
Safety should always be your first priority. Before starting any work, locate the circuit breaker for your heating and cooling systems and turn off the power. Use a voltage tester to confirm that the power supply to the thermostat is off. -
Remove the Old Thermostat Carefully
When removing the existing thermostat, gently unscrew it from the wall. Take note of how the wires are connected by either photographing or labeling them according to their terminal connections. This will help you with the installation of your new smart thermostat. -
Check Wiring Compatibility
Most smart thermostats require a C-wire (common wire) for continuous power. If your home does not have a C-wire, consider using a C-wire adapter or a power extender kit, which many manufacturers offer. This step is critical to ensure your thermostat stays powered without exhausting batteries. -
Label the Wires
Once you have detached the old thermostat, clearly label each wire according to its terminal (e.g., R, Y, W, G) using the provided color-coded labels. This identification simplifies the process when connecting the wires to the new smart thermostat. -
Secure the Mounting Plate
Many smart thermostats come with a mounting plate designed to conceal existing holes left by your old thermostat. Make sure to align the plate level and screw it securely into the wall. This not only ensures aesthetics but also functionality. -
Connect the Wires
Following the manufacturer’s guidelines, carefully connect each labeled wire to the corresponding terminals on the new smart thermostat. Ensure that the connections are secure and observe any specific installation instructions provided in the user manual. -
Attach the Thermostat
Once all wires are appropriately connected, attach the thermostat to the mounted plate. Make sure it clicks securely into place. Check that the thermostat display is powered on to confirm that the installation has been successful. -
Restore Power
After ensuring all connections are tight and secure, return to the circuit breaker and restore power to your HVAC system. Watch for any signs of malfunction or improperly connected wires, such as unusual noises or failure to power on. -
Connect to Wi-Fi
Using the thermostat’s touchscreen or companion app, connect to your home Wi-Fi network. Follow the prompts to enter your password. This connection will enable remote access and control through your smartphone, allowing for convenient temperature adjustments. -
Configure the Settings
Customize your thermostat settings through the app or the device interface. Input essential data such as your location, preferred heating and cooling schedules, and whether you want energy-saving options enabled. Establishing these preferences ensures optimal comfort and efficiency. -
Set Up Geofencing and Learning Features
One of the primary benefits of smart thermostats is their ability to adapt to your lifestyle. Enable geofencing, which adjusts your thermostat based on your location, or activate learning features that help the unit learn your routines. This automates temperature adjustments, promoting energy efficiency. -
Test Your New Thermostat
After setup, conduct a thorough test of your new smart thermostat. Adjust the temperature several times to ensure that it responds as expected. Monitor your HVAC system to confirm it runs efficiently and without noise disruptions. -
Regularly Update Software
To maintain optimal performance and security, regularly check for software updates for your smart thermostat. Most brands offer updates through their mobile apps, which can enhance functionality and resolve any bugs that may arise after installation. -
Monitor Energy Usage
Utilize energy reports generated by your smart thermostat to monitor usage patterns. Review weekly or monthly reports that illustrate your heating and cooling habits. Understanding these patterns can help you to identify additional areas for energy savings. -
Maintain Your HVAC System
For continued efficiency, ensure that your HVAC system is well-maintained. Schedule regular inspections and cleanings to keep it operating at peak performance. A well-maintained system can enhance the effectiveness of your new smart thermostat. -
Educate Family Members
Ensure that all family members know how to use the new thermostat effectively. Provide basic instructions or have a family meeting to demonstrate its features and benefits, reinforcing how it contributes to household energy efficiency. -
Utilize Multi-Room Sensors
If your chosen smart thermostat supports it, consider purchasing additional sensors for different rooms. These sensors can help manage temperature variances throughout your home, ensuring that all areas maintain optimal comfort levels. -
Explore Smart Home Integration
Finally, explore the integration capabilities of your smart thermostat with other smart home devices. These add-ons, including lighting systems or air quality monitors, can enhance overall home automation and add convenience to your daily life.
Implement these best practices for a successful smart thermostat installation that maximizes efficiency and comfort in your home. With the right planning and execution, you will enjoy a more controlled environment that adapts to your lifestyle while reducing energy costs.
