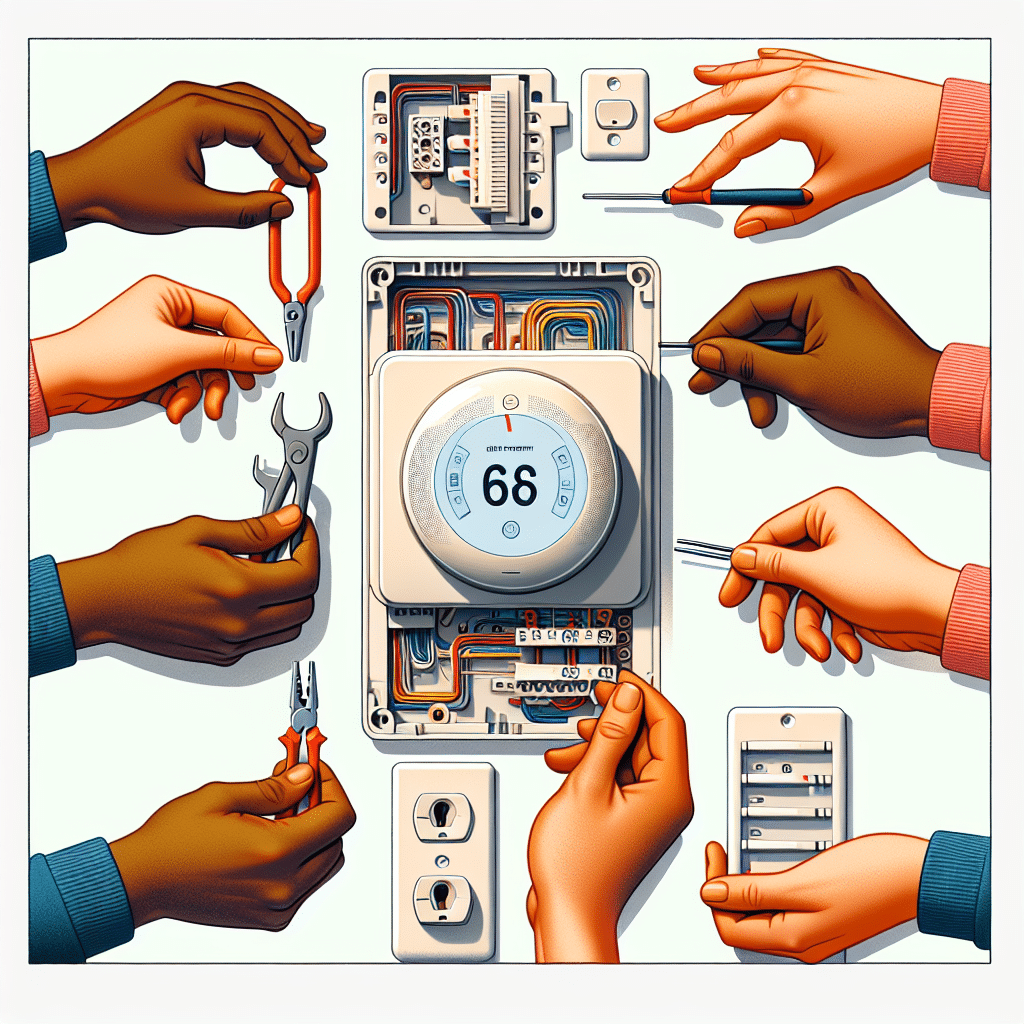
How to Install a Smart Thermostat in Five Simple Steps
Installing a smart thermostat can significantly enhance your home’s energy efficiency and comfort. The process may sound complicated, but breaking it down into manageable steps makes it easy. Below are five simple steps to guide you through the installation of your smart thermostat, ensuring you maximize its features while adhering to safety protocols.
Step 1: Gather Your Tools and Materials
Before you begin the installation process, gather all the necessary tools and materials. This includes:
- Smart Thermostat: Ensure that your selected thermostat is compatible with your home’s heating and cooling system.
- Screwdriver: A Phillips screwdriver is generally required.
- Drill (if needed): For drilling new holes in the wall.
- Level: To ensure your thermostat is straight after installation.
- Wire Strippers/Cutters: If necessary, to prepare the wires.
- Voltage Tester: To check whether power is off before handling the wiring.
Having everything ready in advance will streamline the installation process and save time.
Step 2: Turn Off Power and Remove the Old Thermostat
Safety is paramount during electrical installations. Start by turning off the power to your heating and cooling systems at the circuit breaker. This ensures there’s no electrical shock during installation.
Once the power is off, carefully remove the old thermostat from the wall. Follow these sub-steps:
- Remove the Cover: Most thermostats have a faceplate or cover. Gently pull or unscrew this from the device to expose the wiring underneath.
- Note the Wires: Take photos of the wiring configuration. This will be crucial when connecting your new thermostat.
- Disconnect the Wires: Unscrew the terminal screws holding the wires in place and carefully remove each wire. Ensure they are labeled according to their corresponding terminals (e.g., R, W, Y, G).
Step 3: Install the Smart Thermostat’s Backplate
With the old thermostat removed and the wires prepared, it’s time to install your smart thermostat’s backplate. Follow these steps:
- Mount the Backplate: Align the backplate against the wall, ensuring it is level using a spirit level. Mark the screw holes with a pencil.
- Drill Holes: If necessary, drill holes for the screws, then insert wall anchors if you’re mounting the thermostat on drywall.
- Secure the Backplate: Fasten the backplate to the wall using screws. Make sure it’s securely attached before proceeding.
Step 4: Connect the Wires to the Smart Thermostat
This part requires some attention to detail, as connecting the wires incorrectly can prevent your thermostat from functioning.
- Identify the Wires: Refer to the photos you took earlier to match your old thermostat’s wiring with the corresponding terminals on your new smart thermostat.
- Connect the Wires: Strip the ends of the wires if necessary (generally, about 1/4 inch is adequate). Now, gently insert each wire into the corresponding terminal on the smart thermostat. Most thermostats use a simple push-in connector; some may require tightening with a screwdriver.
- Secure the Connections: Ensure that all connections are tight to prevent any loose wires that might interfere with operation.
Step 5: Complete Installation and Configure Settings
With all wires securely connected, finish the installation by attaching the thermostat’s front cover.
- Turn Power Back On: Go back to your circuit breaker and turn the power supply back on to your heating and cooling systems.
- Power Up the Smart Thermostat: The device should power up and prompt you to start the configuration. Follow the on-screen instructions, which will generally include setting the Wi-Fi connection, time, schedule, and any other personalization settings.
- Download the Companion App: Most smart thermostats come with a companion app that allows remote programming and control. Download it to your smartphone and follow the prompts to connect your smartphone to the smart thermostat.
Best Practices for Smart Thermostat Installation
- Consult the User Manual: Each smart thermostat may have specific installation instructions. Refer to the manufacturer’s manual for detailed steps or requirements.
- Verify Compatibility: Before purchasing, check that the thermostat is compatible with your HVAC system type (e.g., gas, electric, heat pump).
- Update Settings Regularly: After installation, take time to explore all features offered by your smart thermostat and adjust settings regularly to suit seasonal changes.
- Consider Professional Help: If your HVAC system is complex or if you’re unsure about electrical work, consult a professional installer.
By following these five straightforward steps, you can efficiently install your smart thermostat while enhancing your home’s comfort and efficiency without venturing into complicated territory. Enjoy the benefits of cutting-edge technology and take control of your home’s climate effectively.
