Step 1: Gather Necessary Tools and Materials
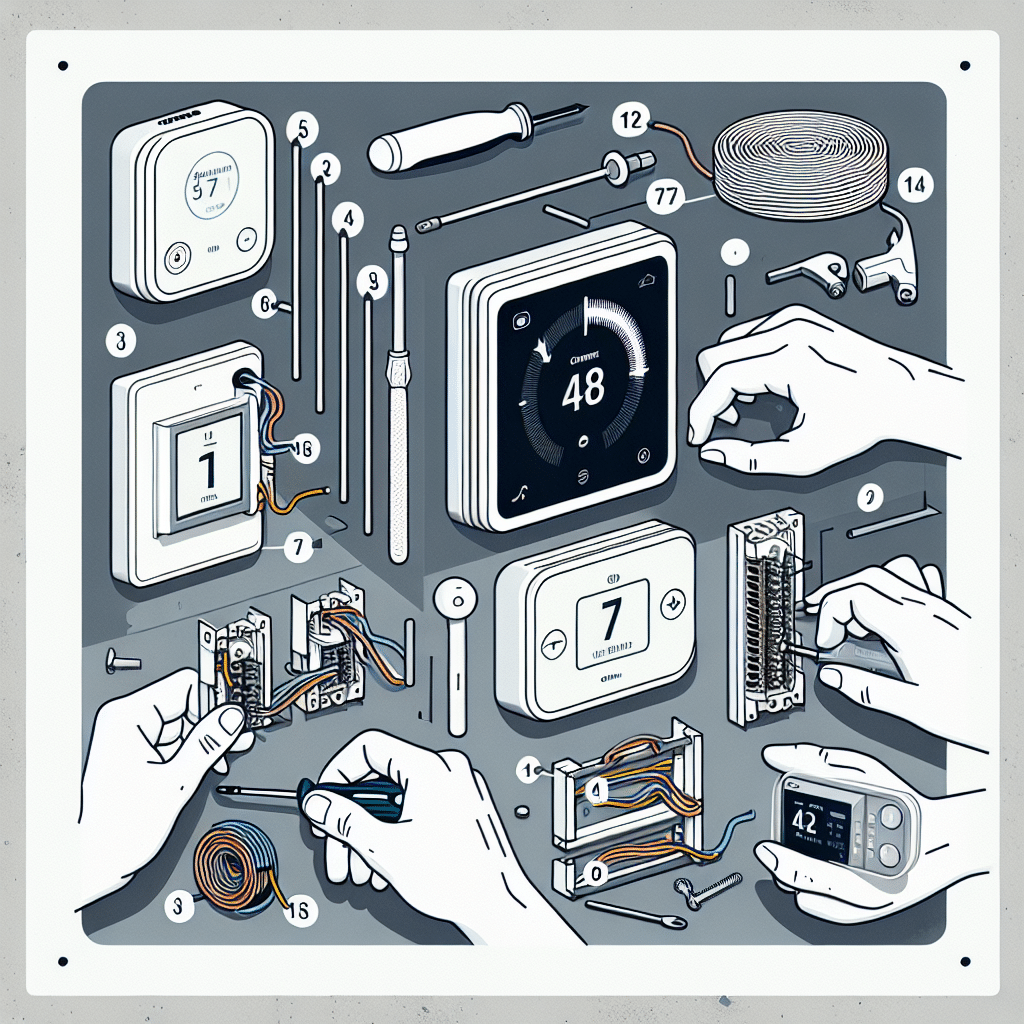
Before beginning your smart thermostat installation, gather all required tools and materials. The essential items include:
- Smart Thermostat Kit: Make sure your chosen model is compatible with your HVAC system.
- Screwdriver: A standard Phillips-head screwdriver is typically sufficient.
- Drill: For attaching the mounting plate if necessary.
- Level: To ensure the thermostat is straight.
- Voltage Tester: To confirm that no power is present before starting work.
- Wire Stripper: For preparing thermostat wires.
- Smartphone or Tablet: Necessary for setting up the thermostat via its companion app.
Step 2: Turn Off Your HVAC System
Safety is paramount before installing your smart thermostat. Turn off the power to your HVAC system at the circuit breaker. This action ensures that you won’t accidentally electrocute yourself or damage the system during installation. Confirm that the power is off using a voltage tester on the existing thermostat wires.
Step 3: Remove the Existing Thermostat
Once you’ve ensured that the power is off, carefully remove the old thermostat’s cover. Most models come off with a gentle pull or by loosening screws. Take a photo of the existing wiring for reference. Next, disconnect the wires from the old thermostat, taking care not to let them fall back into the wall.
Step 4: Identify Wire Functions
Using your reference photo, identify the purpose of each wire connected to your old thermostat. Common wire labels include:
- R (Red): Power from the transformer.
- W (White): Heating.
- Y (Yellow): Cooling.
- G (Green): Fan.
- C (Common): Provides continuous power.
If your smart thermostat requires a C wire and your existing setup lacks one, consider running a new wire or utilizing a C-wire adapter, which can often be purchased separately.
Step 5: Mount the Smart Thermostat’s Base
Next, you will install the base of your smart thermostat. Use the included mounting template to position the base on the wall. Using a level, ensure it is straight, then mark where to drill. If you need to drill holes, do so now, inserting wall anchors if necessary. Finally, secure the base to the wall using screws.
Step 6: Connect the Wires to the Smart Thermostat
Using the previously taken photograph for guidance, connect the wires to the appropriate terminals on your smart thermostat. Push the wire firmly into the terminal slots until they are secure, making sure that there is no wire exposed that could cause a short circuit.
- Attach the Red wire to the R terminal.
- Connect the White wire to the W terminal.
- Attach the Yellow wire to the Y terminal.
- Connect the Green wire to the G terminal.
- If available, connect the Blue or Black wire to the C terminal.
Step 7: Attach the Thermostat Display
With the wiring complete, align the thermostat display with the base and gently push it into place until it clicks. Take care to ensure there are no pinch points with the wires.
Step 8: Restore Power and Configure
After securely attaching the display, turn the power back on at the circuit breaker. Your smart thermostat should light up, signaling it’s receiving power. Follow the on-screen prompts to set up your thermostat, which usually includes selecting your language, connecting to Wi-Fi, and calibrating the temperature settings.
Step 9: Download the Companion App
To maximize the functionality of your smart thermostat, download its companion app on your smartphone or tablet. Available on both iOS and Android platforms, this app will allow you to control your thermostat remotely, set schedules, receive alerts, and integrate with smart home ecosystems. Follow the app’s instructions to create an account and link your thermostat.
Step 10: Test Your System
After setup, it’s crucial to test the HVAC system to ensure everything operates correctly:
- Heating Test: Set the temperature significantly higher than the room temperature and observe if the heating system activates.
- Cooling Test: Similarly, set the thermostat lower than room temperature to check if the cooling system powers on.
- Fan Test: Ensure the fan can run independently by setting it to the ON position to see if it operates.
Step 11: Fine-tune Settings
Once testing is complete, navigate through the thermostat settings in the companion app. Adjust features like Eco Mode, scheduling, and geofencing according to your preferences. Familiarize yourself with energy-saving options designed to optimize your HVAC usage.
Step 12: Maintenance and Updates
To ensure the longevity of your smart thermostat, regularly check for software updates through the app. Manufacturers frequently release updates that enhance functionality and security. Clean the thermostat surface and the area around it periodically to avoid any dust or debris buildup that could affect its sensors.
Tips and Troubleshooting
- Wi-Fi Connectivity: If you have connectivity issues, verify your Wi-Fi signal strength at the thermostat location. Consider a Wi-Fi extender if necessary.
- Temperature Accuracy: If your thermostat seems to read the temperature inaccurately, calibrate it according to the manufacturer’s instruction found in the manual.
- Seek Professional Help: If at any point you feel unsure about the installation, consult a professional HVAC technician. Safety should always take precedence.
Additional Considerations
Ensure you’re complying with local regulations regarding thermostat installation. Some areas may have specific requirements or code compliance for electrical installations. Always refer to your smart thermostat’s installation guide for model-specific instructions or peculiarities.
Following these detailed steps, even beginners can successfully install a smart thermostat, enhancing their home’s efficiency and comfort.
