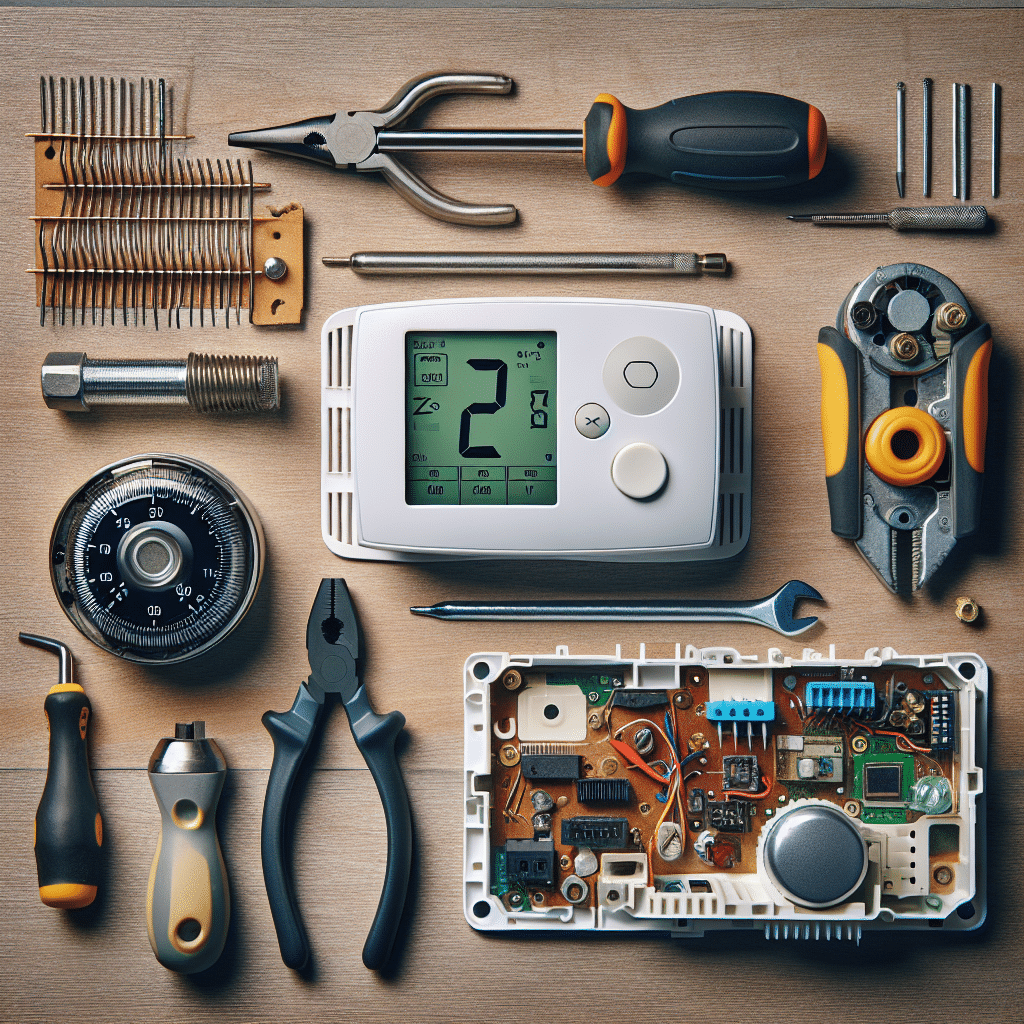
Understanding Smart Thermostats
Smart thermostats are advanced devices that allow homeowners to control their heating and cooling systems more efficiently and conveniently. They can be managed via smartphone apps, adapt to your schedule, and even utilize learning algorithms to optimize energy use. Upgrading to a smart thermostat can lead to significant energy savings and increased comfort.
Tools and Materials Required
Before starting your thermostat replacement, ensure you have the following tools and materials:
- Screwdriver (flathead and Phillips)
- Drill (if needed for mounting)
- Voltage tester
- Smart thermostat device
- User manual of your existing thermostat
- Wire labels (optional)
Step 1: Choose the Right Smart Thermostat
Selecting the right smart thermostat is crucial for optimal performance. Some popular options include the Nest Learning Thermostat, Ecobee SmartThermostat, and Honeywell Home T9. Consider features like:
- Compatibility with your heating/cooling system
- Smartphone app functionalities
- Geofencing capabilities
- Voice control compatibility with Amazon Alexa or Google Assistant
Step 2: Turn Off Power to the HVAC System
Safety is paramount when replacing your thermostat. Locate the circuit breaker for your HVAC system and turn it off to prevent any electrical shock. Confirm that the power is off by using a voltage tester on the existing thermostat.
Step 3: Remove the Old Thermostat
After ensuring there’s no power, you can begin removing the old thermostat. Follow these steps:
-
Detach the faceplate by gently pulling it from the wall.
-
Unscrew and remove the base from the wall, noting which wires are connected to which terminals.
-
Label each wire with tape or a marker, so you remember their functions during installation. Typical wires include:
- R (Power)
- Y (Cooling)
- W (Heating)
- G (Fan)
- C (Common)
Step 4: Check for C-Wire Compatibility
Many smart thermostats require a common wire (C-wire) for power. If your existing setup does not have a C-wire, you may need to use a power adapter or run a new wire. Some smart thermostats offer workarounds, but ensure compatibility through the manufacturer’s guidelines.
Step 5: Prepare the Wall and Install the Mounting Plate
Ensure that the wall is clean and free from debris. The new smart thermostat may come with a mounting plate that may not align perfectly with the old one. If necessary, drill new holes and use drywall anchors for a secure fit.
Step 6: Connect the Wires to Your New Smart Thermostat
Using the labels from Step 3, connect the corresponding wires to your new smart thermostat. Here’s a general guideline:
- R → R or Rh (Red wire)
- Y → Y (Yellow wire)
- W → W (White wire)
- G → G (Green wire)
- C → C (Blue or Black wire)
Double-check your connections to ensure they are secure to prevent any operational issues.
Step 7: Attach the Thermostat to the Mounting Plate
Once the wires are connected, align the thermostat onto the mounting plate and press it into place until it clicks securely. Make sure the front of the thermostat is level before finalizing the installation.
Step 8: Restore Power to the HVAC System
Return to the circuit breaker and turn the power back on to your heating and cooling system. Verify that your new thermostat powers up correctly.
Step 9: Configure Your Smart Thermostat
Follow the manufacturer’s instructions for configuring your smart thermostat. Generally, this process involves:
- Downloading the corresponding smartphone app.
- Creating an account and connecting your thermostat to Wi-Fi.
- Setting your preferences for heating/cooling schedules.
- Connecting any smart home systems, if desired.
Step 10: Familiarize Yourself with Features and Functions
Explore the capabilities of your new thermostat. Common features include:
- Learning algorithms that adapt to your routine.
- Energy-saving modes to minimize costs.
- Advanced scheduling options for climate control.
Step 11: Test the System
After installation, perform a thorough test to confirm everything is functioning properly. Adjust the temperature settings to check heating and cooling responses. Observe if the system responds correctly to programming and smartphone commands.
Step 12: Review Manufacturer Support and Warranties
Familiarize yourself with the manufacturer’s support and warranty information. This knowledge will be helpful if any issues arise in the future.
Additional Tips for Success
- Consult the User Manual: Always refer to your specific smart thermostat’s user manual throughout the process.
- Watch Online Tutorials: Visual learners may find video tutorials helpful for understanding the installation process.
- Ask for Help: If you’re uncertain about any step, don’t hesitate to consult a professional. Proper installation is key to the performance of your new device.
Maintenance of Your Smart Thermostat
Regular maintenance will prolong the life and effectiveness of your smart thermostat. Perform these tasks periodically:
- Check Filters: Ensure that air filters in your HVAC system are clean and replaced regularly.
- Software Updates: Keep your device’s firmware updated to access the latest features and security patches.
- Calibration: Periodically check that your thermostat settings reflect the actual temperature of your home.
Implementing these steps ensures your transition to a smart thermostat is smooth, efficient, and ultimately beneficial. With the right tools, a little preparation, and an understanding of the system, anyone can successfully replace their old thermostat with a modern smart alternative. Enjoy the benefits of enhanced comfort and energy efficiency as you take control of your home climate system!
