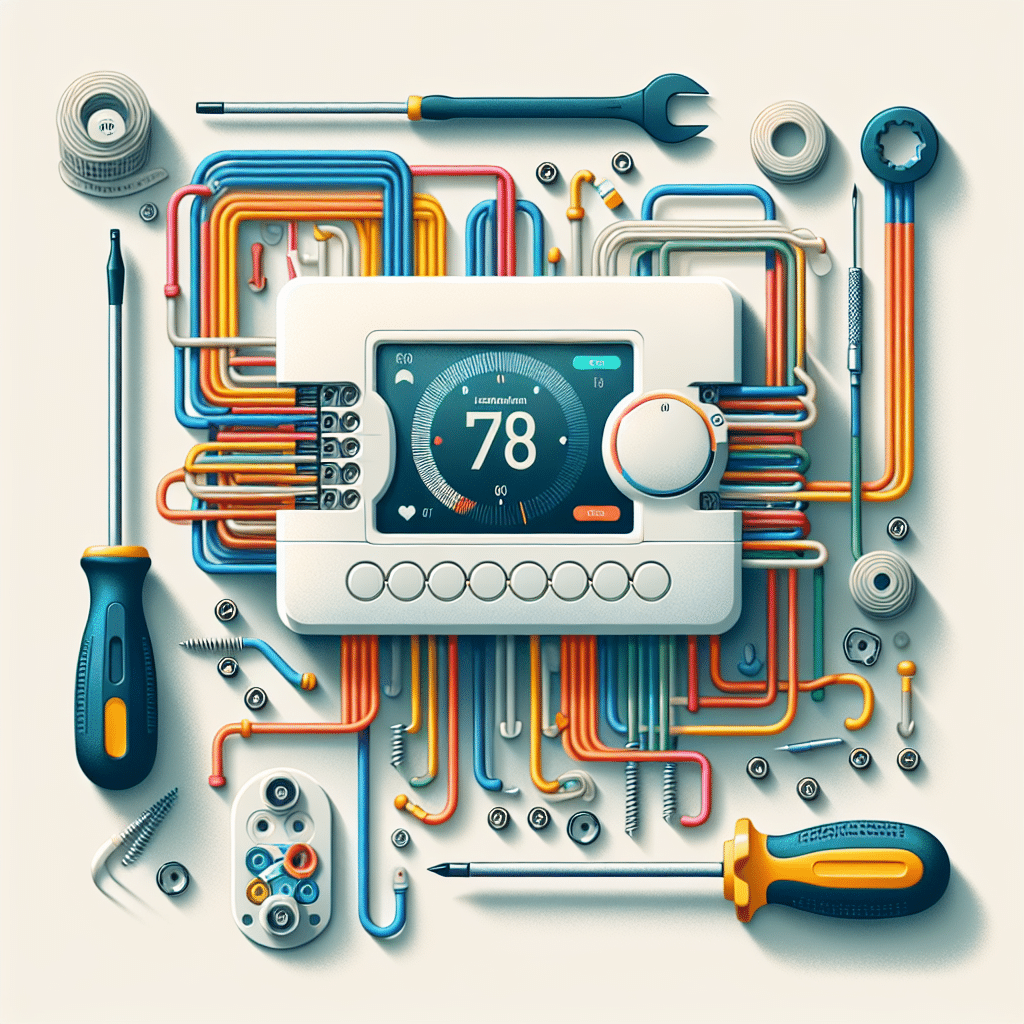
How to Set Up a Smart Thermostat: An Installation Guide
Understanding Your Smart Thermostat
Before diving into the installation process, familiarize yourself with what a smart thermostat does. Unlike traditional thermostats, smart thermostats can learn your habits, optimize energy usage, and be controlled remotely via mobile apps. Ensure compatibility with your existing HVAC system by checking if your system requires a C-wire (common wire) for powering the device.
Tools and Materials Needed
- Smart thermostat kit (includes the thermostat unit, screws, and often a mounting plate)
- Screwdriver (flathead and Phillips)
- Drill (if needed for mounting)
- Level (to ensure the thermostat is straight)
- Smartphone or tablet (for app installation)
- Voltage tester (optional for safety)
Step-by-Step Installation Guide
Step 1: Turn Off Power to the HVAC System
Safety is paramount. Locate your circuit breaker panel and turn off the power to your heating and cooling system. Confirm that the power is off by checking the system or using a voltage tester on the existing thermostat wires.
Step 2: Remove Your Old Thermostat
Carefully remove the old thermostat from the wall. Start by unscrewing the mounting plate. As you detach it, note the wire connections and their corresponding labels (often indicated by letters like R, W, Y, G). Take a clear photo for reference. Disconnect the wires by unwinding them from their terminals.
Step 3: Mark and Prepare Wires
Using masking tape, label each wire based on its corresponding terminal (e.g., R for red, W for white). This labeling is crucial to ensure accurate reconnections. If you have a C-wire, keep it in mind as you proceed.
Step 4: Install the Mounting Plate
Using a level, position the mounting plate where your old thermostat was located. If your new smart thermostat comes with a mounting plate, this may involve drilling new holes. Secure the mounting plate to the wall with screws, ensuring it’s firmly in place.
Step 5: Connect Wires to the Smart Thermostat
Referencing the notes and photo from Step 2, connect the wires to the corresponding terminals on your new thermostat.
- R (Red): Power from the heating system
- W (White): Heating signal
- Y (Yellow): Cooling signal
- G (Green): Fan control
- C (Common): Only if required by your model
Ensure that the wires are securely fastened and avoid crossing them, which may cause operational issues.
Step 6: Attach the Thermostat
Once the wires are connected, gently pull them through the hole in the back of the thermostat without displacing the connections. Attach the thermostat unit to the mounting plate, pressing until it clicks into place.
Step 7: Power Up and Initial Setup
Now that everything is connected, return to the circuit breaker and restore power to your HVAC system. The thermostat will light up, signaling it is receiving power. Follow the on-screen instructions to select your wi-fi network and enter the password.
Step 8: Download the Mobile App
Search for the specific smart thermostat app in your device’s app store (Apple App Store or Google Play). Download and install the app, then sign up or log in. Connect the app to your thermostat by following the in-app instructions.
Step 9: Configure Settings
After connecting to Wi-Fi, you’ll need to configure your thermostat settings. Set your heating and cooling schedules according to your preferences. Most smart thermostats offer learning features, allowing them to adapt based on your routines. You may also set preferences for temperature ranges, different modes (like eco mode), and notifications for maintenance reminders.
Step 10: Test the System
With everything set up, it’s time to test your HVAC system. Adjust the temperature via your smartphone or directly on the thermostat to check if the heating and cooling systems respond correctly. It should switch on according to your settings without issues.
Troubleshooting Common Issues
- Wi-Fi Connectivity: If your thermostat fails to connect to Wi-Fi, ensure both your smartphone and thermostat are within range. Restarting your router may also help.
- Power Issues: If the thermostat does not power on, double-check wire connections and ensure the power is restored from the circuit breaker.
- Correct Temperature Readings: If you notice discrepancies in temperature readings, reposition the thermostat away from direct sunlight, drafts, or heat sources.
Final Adjustments
After setup, consider integrating additional smart home devices for enhanced functionality. Many smart thermostats allow connectivity with other devices such as smart speakers, sensors, or even security systems. Use these integrations to maximize energy savings and improve overall convenience in your home.
Follow manufacturer updates and keep your app updated to benefit from new features and security enhancements. Conduct regular maintenance, such as changing filters and inspecting heating/cooling systems to ensure optimal performance throughout the year.
Energy Savings and Performance
Utilizing a smart thermostat can significantly reduce your energy bills. By allowing the unit to learn your schedule and adjust heating and cooling based on occupancy, you can save up to 10-15% annually on heating and cooling costs. Additionally, many utility companies offer rebates for installing energy-efficient devices like smart thermostats, which can further offset the initial investment.
Regularly monitor your energy usage through the app, and adjust schedules as needed for peak efficiency. By staying informed about your consumption patterns, you can make adjustments that optimize both comfort and savings.
Conclusion
While the installation process of a smart thermostat may seem daunting, taking it step-by-step ensures success and compatibility with your HVAC system. Following this guide allows you to enjoy improved energy efficiency and control over your home’s climate. Embrace the modern technology of smart thermostats to enhance your living space while promoting energy conservation.
