DIY Guide to Installing a Smart Thermostat at Home
Understanding Smart Thermostats
A smart thermostat is a device that allows you to control your heating and cooling systems remotely through your smartphone or other smart devices. These thermostats can learn your preferences, optimize energy usage, and allow for programming to maximize efficiency and comfort.
Benefits of a Smart Thermostat
- Energy Savings: Smart thermostats can significantly reduce your energy bills by adjusting the temperature based on your habits and preferences.
- Remote Control: Control your heating and cooling systems from anywhere using your smartphone.
- Learning Features: Many smart thermostats learn your schedule and adjust accordingly to maintain comfort while saving energy.
- Integration with Smart Home Devices: Seamlessly connect with other smart home devices for a cohesive smart living experience.
Choosing the Right Smart Thermostat
Before you dive into installation, select a model that fits your home’s HVAC system and your preferences. Popular models include Nest Learning Thermostat, ecobee SmartThermostat, and Honeywell Home T9. Check compatibility with your current system by consulting the manufacturer guidelines.
Tools Required for Installation
- Screwdriver (flat-head and Phillips)
- Drill (if needed)
- Level
- Smartphone (to connect with the thermostat)
- Painter’s tape (optional)
- A multimeter (for checking voltage levels)
Safety First
Before starting the installation, ensure safety by turning off the power to your HVAC system at the breaker. Double-check that the system is off with a multimeter to avoid any electric shocks.
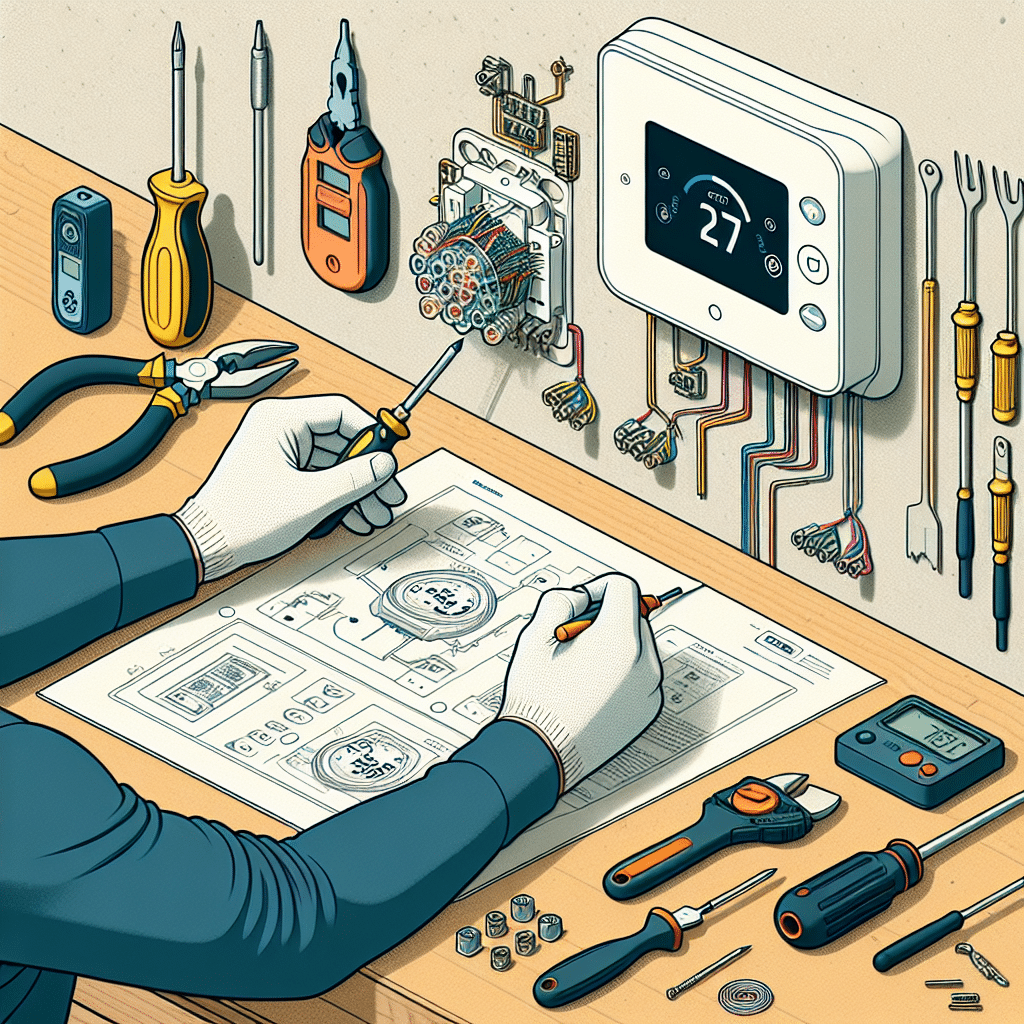
Installing the Smart Thermostat: Step by Step
Step 1: Remove the Old Thermostat
- Unscrew the existing thermostat from the wall.
- Gently pull it away from the wall and take note of the wiring.
- Use painter’s tape to label each wire according to the terminal they are connected to (e.g., R, W, Y, G).
- Unscrew the wires and remove the old thermostat completely.
Step 2: Prepare for New Thermostat
- Inspect the wall and the mounting plate of the old thermostat.
- Use a level to ensure the wall is straight; adjust if necessary.
- If the old mounting plate doesn’t fit the new thermostat, remove it and patch any holes.
Step 3: Connect the Wires
- Refer to the wiring diagram provided with your new smart thermostat.
- Connect the labeled wires to the corresponding terminals on the new thermostat.
- R (Power)
- W (Heat)
- Y (Cooling)
- G (Fan), etc.
- Ensure all wires are secure and don’t allow any contact with adjacent terminals to avoid short-circuiting.
Step 4: Mount the New Thermostat
- Attach the new thermostat’s base to the wall, aligning it with the existing holes if possible.
- Use screws provided with your new device to secure it in place.
- Attach the faceplate to the base of the thermostat.
Step 5: Turn On Power
- Restore power to your HVAC system at the breaker.
- Check that your new thermostat powers up correctly.
Step 6: Configure the Smart Thermostat
- Download the app associated with your thermostat model on your smartphone.
- Follow the app instructions for connecting to WiFi and configuring your settings.
- Set up your schedule preferences and adjust settings based on your routines.
Additional Features to Explore
Once your smart thermostat is installed and set up, explore additional features such as:
- Home/Away Assist: Some models automatically adjust settings based on your presence.
- Energy Usage Reports: Review energy consumption to further your savings.
- Integration with voice assistants, such as Amazon Alexa or Google Assistant, for voice control.
Troubleshooting Common Issues
- Thermostat Not Turning On: Check wires are properly connected and that the power is restored.
- Inconsistent Temperature: Ensure that the thermostat is placed away from heat sources and drafts.
- WiFi Connectivity Issues: Move your router closer to ensure the thermostat can connect.
- App Malfunctions: Restart the app or reinstall it if issues persist.
Maintaining Your Smart Thermostat
To ensure long-term functionality, regularly check for firmware updates within the application. Periodically review energy usage reports to optimize settings further.
Final Checks & Tips
- Make sure all settings are correctly configured by testing the HVAC system.
- If your HVAC system features a C-wire (common wire), ensure it’s connected for optimal functionality.
- Consider placing your thermostat in a central location for accurate temperature readings.
Installing a smart thermostat not only modernizes your home but also contributes to energy efficiency and comfort. With a little patience and care, you can enjoy the benefits of a smart home.