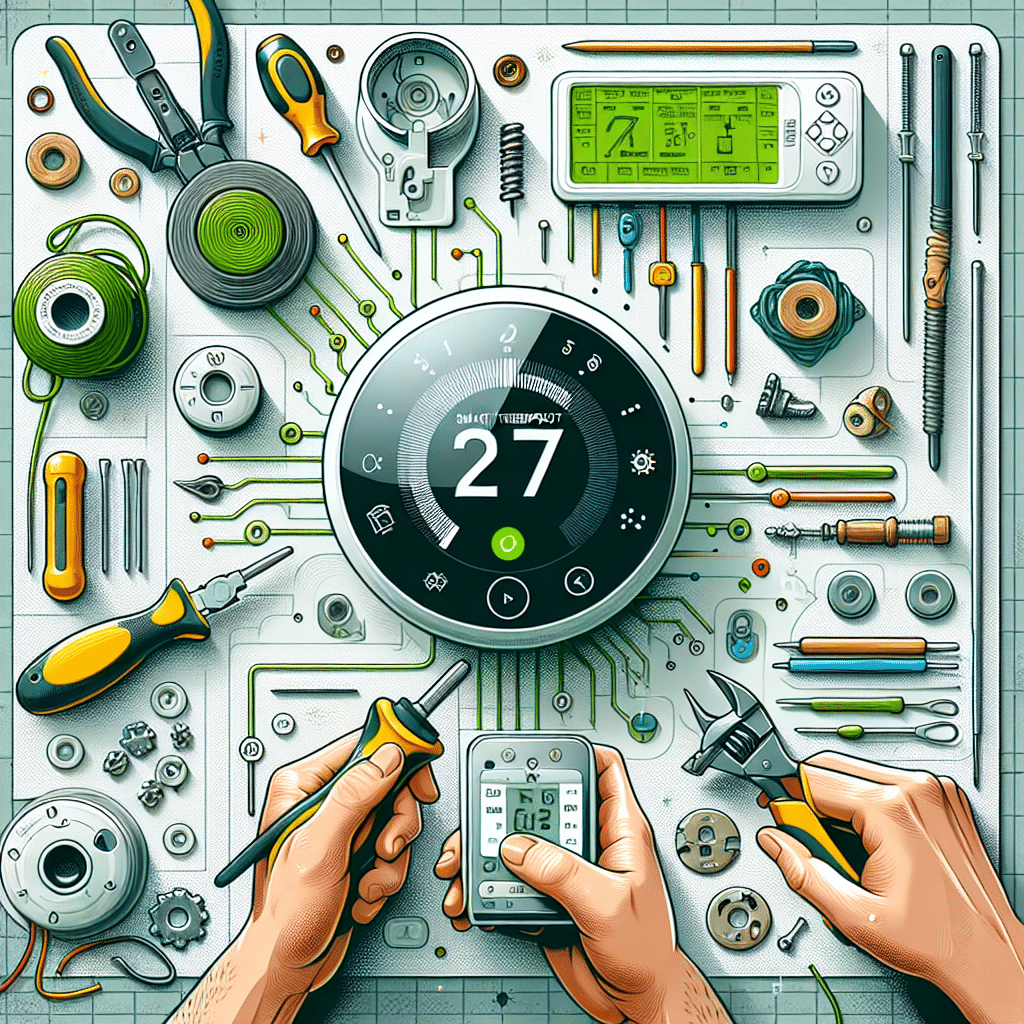
Understanding Smart Thermostats
Smart thermostats are cutting-edge devices that can significantly improve energy efficiency in homes. These programmable thermostats allow users to control their heating and cooling systems from a smartphone or tablet, enabling better management of home energy use based on real-time data. Enhancing energy efficiency not only reduces utility bills but also lowers your carbon footprint.
Choosing the Right Smart Thermostat
Before diving into the installation process, selecting the right smart thermostat for your home is crucial. There are various features to consider:
- Compatibility: Ensure that the thermostat is compatible with your HVAC system. Most manufacturers provide a compatibility checker on their websites.
- Wi-Fi Connectivity: Choose a device that connects easily to your home Wi-Fi for remote control access through an app.
- Learning Capability: Some smart thermostats, like the Nest Learning Thermostat, can learn your habits and adjust accordingly.
- Integration: If you use other smart home devices, make sure your thermostat can integrate with them, like Amazon Alexa or Google Assistant.
Essential Tools and Materials
Gather the necessary tools before starting the installation process. You’ll need:
- Screwdriver
- Drill (if needed for wall mounting)
- Level
- Measuring tape
- Pencil
- Smart thermostat installation kit (usually included)
- Smartphone or tablet (to connect to the thermostat app)
Before You Start: Safety First
Turn off the power to your HVAC system to avoid any electrical hazards. This can typically be done at the circuit breaker or dedicated power switch for the HVAC unit. Confirm that power is off using a voltage tester for added safety.
Step-by-Step Installation Guide
Step 1: Remove the Old Thermostat
- Take a photo of the existing thermostat wiring for reference.
- Remove the faceplate of the old thermostat by unscrewing it.
- Carefully disconnect the wires from their terminals. Note the color codes and terminal labels (like R, W, Y, G).
- If necessary, detach the mounting plate from the wall.
Step 2: Prepare the Wall and Mounting Plate
- Ensure the wall surface is clean and free from debris.
- If your smart thermostat requires a new mounting plate, install it now. Use a level to make sure it is straight, then mark the drill holes with a pencil.
- Drill holes for wall anchors if you’re mounting on drywall.
Step 3: Connect the Wiring
- Refer back to the photo you took. Match the wires from your system to the corresponding terminals on the new smart thermostat.
- R (Red): Power
- W (White): Heat
- Y (Yellow): Cooling
- G (Green): Fan
- If you have a common wire (C), connect this to power the smart thermostat.
- Secure the wires in place and ensure they are properly inserted.
Step 4: Attach the Smart Thermostat
- Align the thermostat over the mounting plate and securely attach it.
- Refer to the manufacturer’s instructions if there are specific locking mechanisms or clips.
Step 5: Power Up and Configure
- Restore power to your HVAC system at the circuit breaker.
- Follow the manufacturer’s instructions for initial setup. Most modern smart thermostats will guide you through the configuration process via their screens.
- Connect the thermostat to your Wi-Fi network using the app on your smartphone or tablet.
Setting Up the Smart Thermostat
Step 6: Download the App
- Visit the App Store (iOS) or Google Play Store (Android) and download the app associated with your smart thermostat model.
- Create an account if required. Many brands offer energy reports and usage statistics through their apps.
Step 7: Customize Temperature Scheduling
- Use the app to set up a schedule that fits your routine:
- Create weekday vs. weekend schedules for optimized energy use.
- Implement geofencing features allowing the thermostat to adjust automatically when you leave or return home.
- Configure temperature settings based on the season. For example, set higher daytime temperatures during winter to save energy while at work.
Utilizing Energy-Saving Features
Smart thermostats come with various features designed to maximize energy efficiency:
- Automatic Weather Adjustments: Some models adjust temperatures based on local weather conditions.
- Energy Reports: Many smart thermostats provide monthly energy reports that show usage patterns and suggest ways to save more.
- Remote Sensors: Consider integrating additional remote temperature sensors to optimize comfort in different areas of your home.
Troubleshooting Common Issues
After installation, you may face some common issues:
- Wi-Fi Connection Problems: Ensure your Wi-Fi signal is strong in the location of the thermostat. Move the router closer if necessary.
- Power Issues: If the thermostat won’t power on, check the circuit breaker or confirm that all wires are securely connected.
Maintenance Tips for Optimal Energy Efficiency
- Regular Updates: Ensure that your thermostat’s firmware is updated frequently to benefit from new features and security patches.
- Monitor Performance: Check the app to monitor your heating and cooling trends. Make adjustments as needed to optimize energy usage.
- Seasonal Adjustments: Change filters in your HVAC system regularly to maintain efficiency and reduce wear and tear.
Conclusion: Reap the Benefits of Energy Efficiency
By investing time in DIY installation and utilizing the full features of a smart thermostat, you can significantly enhance your home’s energy efficiency. A well-calibrated smart thermostat can lead to substantial savings on energy bills, increase comfort, and contribute positively to the environment. Staying proactive with settings and maintenance will ensure you reap the benefits in the long run.
