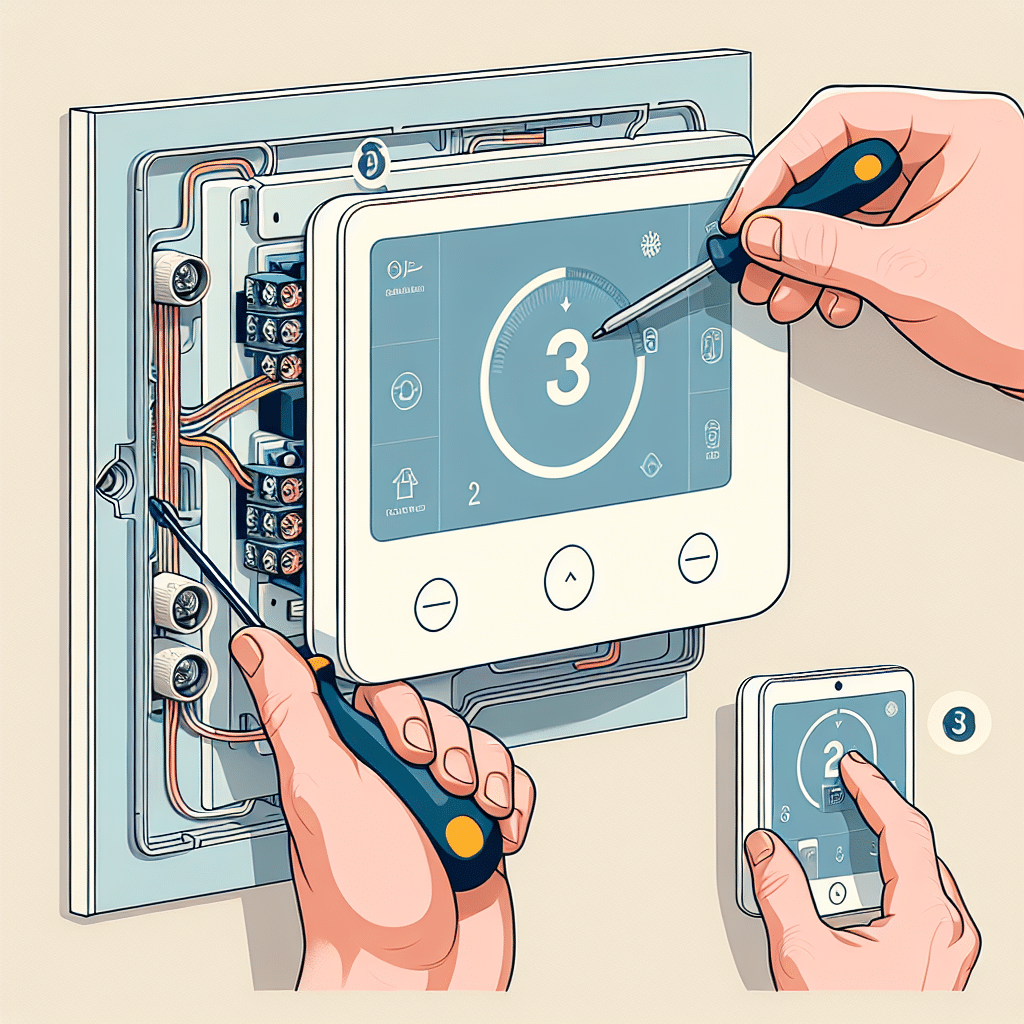
Step 1: Gather the Necessary Tools and Materials
Before starting the installation of your smart thermostat, ensure you have all the required tools and materials. You will need:
- Smart thermostat (compatible with your HVAC system)
- Screwdriver (flathead or Phillips)
- Smart device (smartphone or tablet)
- Level (optional, but helpful)
- Drill (if new holes are needed)
- Wire labels (for easier identification during installation)
- Safety glasses (for protection)
Step 2: Turn Off Power to Your HVAC System
Safety is paramount. Before proceeding with the installation, turn off the power to your HVAC system to avoid any electrical shock. Locate the circuit breaker for your heating and cooling system and switch it off. If you’re unsure, consult your HVAC system’s manual for specific instructions.
Step 3: Remove Your Old Thermostat
Gently remove the cover of your existing thermostat. You may need to use a screwdriver to unscrew it from the wall. Take a photo of the wiring to use as a reference later, which will help you understand how to connect the new smart thermostat. Carefully disconnect the wires, ensuring you label each wire with the provided wire labels according to the terminals to which they were connected (e.g., R, C, W, Y, G).
Step 4: Prepare the Wall for the New Thermostat
Inspect the wall where the old thermostat was mounted. If there are any holes or damages, patch them up using wall filler for a clean installation. Ensure the surface is smooth and ready for the new thermostat. Next, use a level to ensure that your new thermostat will be mounted straight, which is crucial for aesthetics and functionality.
Step 5: Connect Wires to the Smart Thermostat
Now, follow the manufacturer’s instructions to connect the wires you labeled earlier to the corresponding terminals on the new smart thermostat. Most smart thermostats come with a wiring guide included in the manual. Ensure that the wires are properly secured in each terminal.
- R (Red) wire connects to R or Rc for power.
- C (Common) connects to C.
- W (White) goes to W for heating.
- Y (Yellow) connects to Y for cooling.
- G (Green) should go to G for the fan.
Double-check that each wire is firmly connected and that there are no stray strands touching other terminals.
Step 6: Mount the Smart Thermostat
After connecting the wires, position the smart thermostat back on the wall bracket. If the device includes a mounting plate, secure it to the wall using screws. If necessary, drill new holes for the screws to ensure the thermostat is securely fastened. Utilize a level to check that the device is aligned correctly before fully tightening the screws.
Step 7: Restore Power to Your HVAC System
Once the thermostat is mounted correctly, head back to the circuit breaker and switch the power back on for your HVAC system. You should hear a click from the thermostat indicating that it is powered up.
Step 8: Setting Up the Smart Thermostat Software
Once powered, the smart thermostat will likely prompt you to select your language and connect to your home Wi-Fi network. Follow the on-screen instructions to connect the thermostat to your Wi-Fi. You will need to download the accompanying app on your smartphone or tablet, usually available on both Android and iOS platforms.
- Download the App: Search for the app specific to your thermostat model in the App Store or Google Play Store.
- Create an Account: If prompted, create a new account or log in with your existing credentials.
- Add Your Device: Follow the app instructions to add your new thermostat to your account. This typically involves scanning a QR code displayed on your thermostat screen.
Step 9: Configure the Smart Thermostat Settings
Once the thermostat is paired with the app, configure additional settings according to your preferences. Input your location, preferred heating and cooling schedules, and any unique features like geofencing or integration with other smart home devices.
- Schedules: Set up heating and cooling schedules based on your routine.
- Alerts: Enable alerts for temperature changes, filter changes, or maintenance reminders.
- Away Mode: Consider enabling an away mode that adjusts the temperature when you’re not home to save energy.
Step 10: Test the Thermostat
To ensure everything is functioning correctly, conduct a test of both heating and cooling functions. Adjust the temperature via the thermostat itself or the app to confirm that the HVAC system responds accordingly. Monitor the temperature readings and time taken to reach your desired setting.
Step 11: Optimize Smart Features
Explore the features of your smart thermostat to enhance efficiency and comfort. Many modern devices allow for remote control and adjustments, which can significantly reduce energy bills.
- Energy Reports: Review your energy utilization reports within the app to understand your consumption patterns.
- Smart Assistants: If compatible, link with smart assistants like Amazon Alexa or Google Assistant for voice command capabilities.
Step 12: Enjoy Enhanced Comfort
With the installation complete and settings optimized, enjoy the convenience of your new smart thermostat. Monitor its performance through the app and make any adjustments or learnings to better suit your lifestyle.
Utilizing these simple steps will ensure a smooth installation of your smart thermostat, reaping energy savings and enhanced home comfort for years to come.
