Step 1: Gather Tools and Materials
Before starting the installation process, ensure you have all the necessary tools and materials at hand. You will need:
- A smart thermostat compatible with your HVAC system.
- A screwdriver (flathead and Phillips).
- Wire strippers.
- A voltage tester.
- A drill (if needed for new mounting holes).
- A C-Wire adapter or a power extenders kit, such as the Venstar Add-A-Wire or Ecobee Power Extender Kit.
Step 2: Turn Off Power to Your HVAC System
Safety is paramount when installing electrical devices. Locate and turn off the circuit breaker that powers your HVAC system. This step prevents electrical shock and protects your equipment during installation.
Step 3: Remove the Existing Thermostat
- Take Off the Thermostat’s Cover: Depending on your model, this might involve simply lifting it off or unscrewing it.
- Document the Wiring: Use a smartphone or notepad to photograph or write down the connections of the existing wires. Label each wire with a piece of masking tape if possible.
- Disconnect the Wires: Carefully unscrew the terminal connections and remove the wires. Make sure they don’t fall back into the wall.
Step 4: Assess Wiring and Note Wire Colors
Typical wire colors include:
- Red (R): Power from the heating system.
- White (W): Heating signal.
- Yellow (Y): Cooling signal.
- Green (G): Fan operation.
- C-Wire (Common): Provides a return path for electrical current.
If your setup lacks a C-wire, you need a solution.
Step 5: Choose a Solution for the Missing C-Wire
There are several options available to compensate for the missing C-wire:
Option 1: Use a C-Wire Adapter
A C-wire adapter sits between your thermostat and HVAC system, creating a common wire connection.
- Connect the Adapter: Follow the instructions provided with the adapter. Typically, this involves connecting the existing R, Y, W, and G wires to corresponding terminals on the adapter.
- Install C-Wire Connection: Connect the C-wire from the adapter to the thermostat. This wire will complete the circuit necessary for the smart thermostat.
Option 2: Install a Power Extender Kit
- Install at the Furnace: Open up the access panel on your furnace to connect the Power Extender Kit according to the provided instructions.
- Connect Wires: The kit usually involves connecting existing wires plus additional ones provided in the kit. Typically, you will connect the R, Y, W, and G wires from your thermostat to the kit’s output while providing a new common wire.
- Make Use of Labels: During installation, label each wire to avoid confusion.
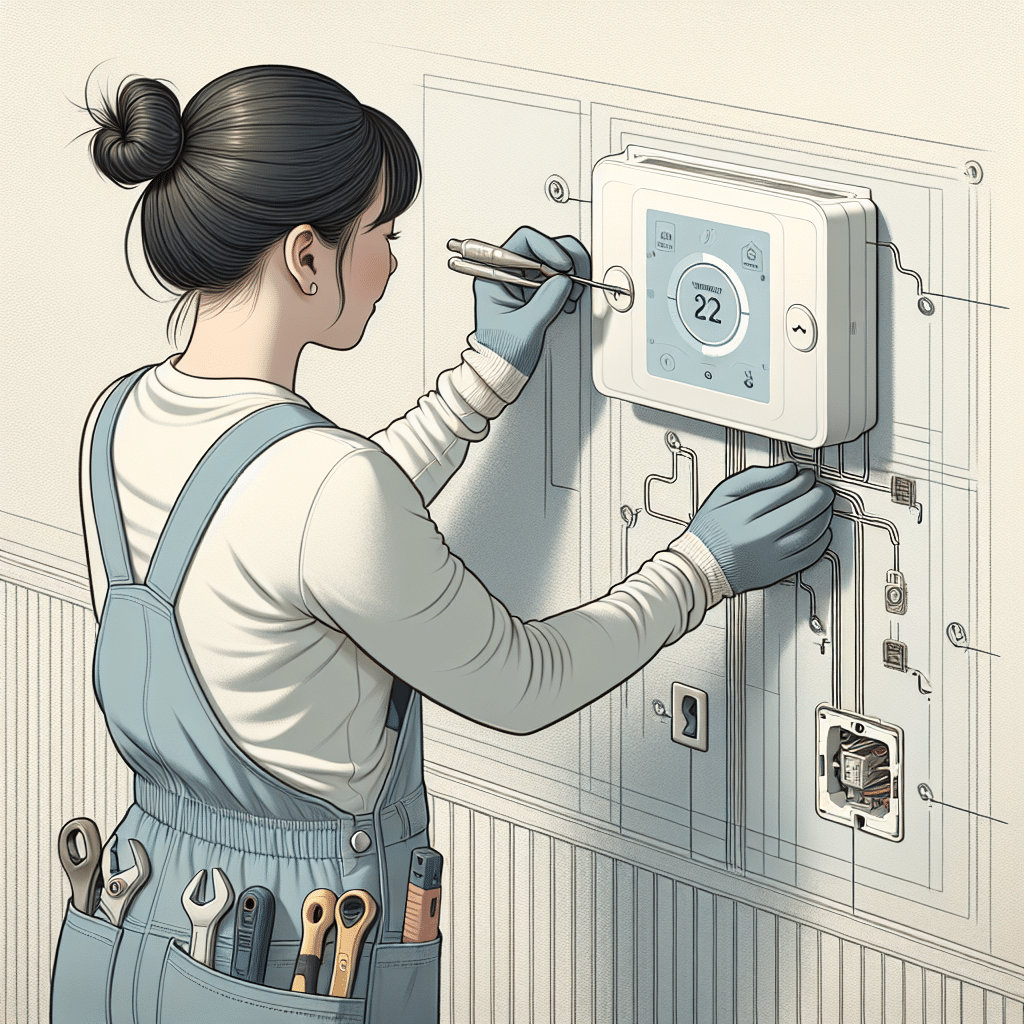
Step 6: Wiring the Smart Thermostat
Follow your smart thermostat’s manual for specific instructions on wiring. Generally, you will perform the following:
- Connect the Identified Wires: Use the documentation of the new thermostat to ensure you connect each wire to the right terminal: R to R, W to W, Y to Y, and G to G. If you have added a C-wire, connect it to the C terminal.
- Wire Stripping: If any wire ends are frayed or damaged, use your wire strippers to create a new clean cut.
Step 7: Mount the Smart Thermostat
After the wiring is complete, you will need to mount the thermostat.
- Mark Holes for Screws: Align the thermostat’s base plate against the wall and mark the screw holes.
- Drill if Necessary: If your wall requires anchors, drill holes as needed.
- Secure the Base Plate: Use screws to attach the base plate firmly to the wall.
Step 8: Attach the Thermostat Display
Once the base is attached, snap or screw on the display of the smart thermostat to the base. Ensure it fits snugly.
Step 9: Restore Power to the HVAC System
Head back to the circuit breaker and turn the power back on to your HVAC system. The smart thermostat should power on.
Step 10: Configure the Smart Thermostat
- Follow On-Screen Prompts: The initial setup involves connecting to your Wi-Fi and configuring your settings, such as location, comfort preferences, and schedule.
- Download the App: For remote access and additional features, download the associated smartphone app. Follow the instructions to connect the thermostat to your Wi-Fi network.
Step 11: Test Your System
Once everything is set up, initiate a test. Adjust the thermostat to see if it communicates effectively with the HVAC system.
- Test Heating and Cooling: Set the smart thermostat to both heating and cooling modes to confirm proper operation of the system.
- Monitor for Errors: Check the app or display for any error messages; if there are identifiable issues, cross-reference them with the installation guide.
Step 12: Enjoy your Smart Thermostat
With the smart thermostat properly installed and configured, enjoy the features it brings, such as energy savings, remote access, and customizable scheduling.
Bonus Tips
- Check Compatibility: Before purchasing a smart thermostat, ensure it is compatible with your HVAC system.
- Smart Home Integration: If you have other smart home systems, explore options to integrate your new thermostat for effective automation.
- Enroll in Energy-Saving Programs: Some regions offer incentives for utilizing smart thermostats that can lead to additional savings.
By following these steps, you can successfully install a smart thermostat even without the presence of a C-wire, improving your home’s HVAC efficiency and enhancing your comfort.