Understanding Smart Thermostats
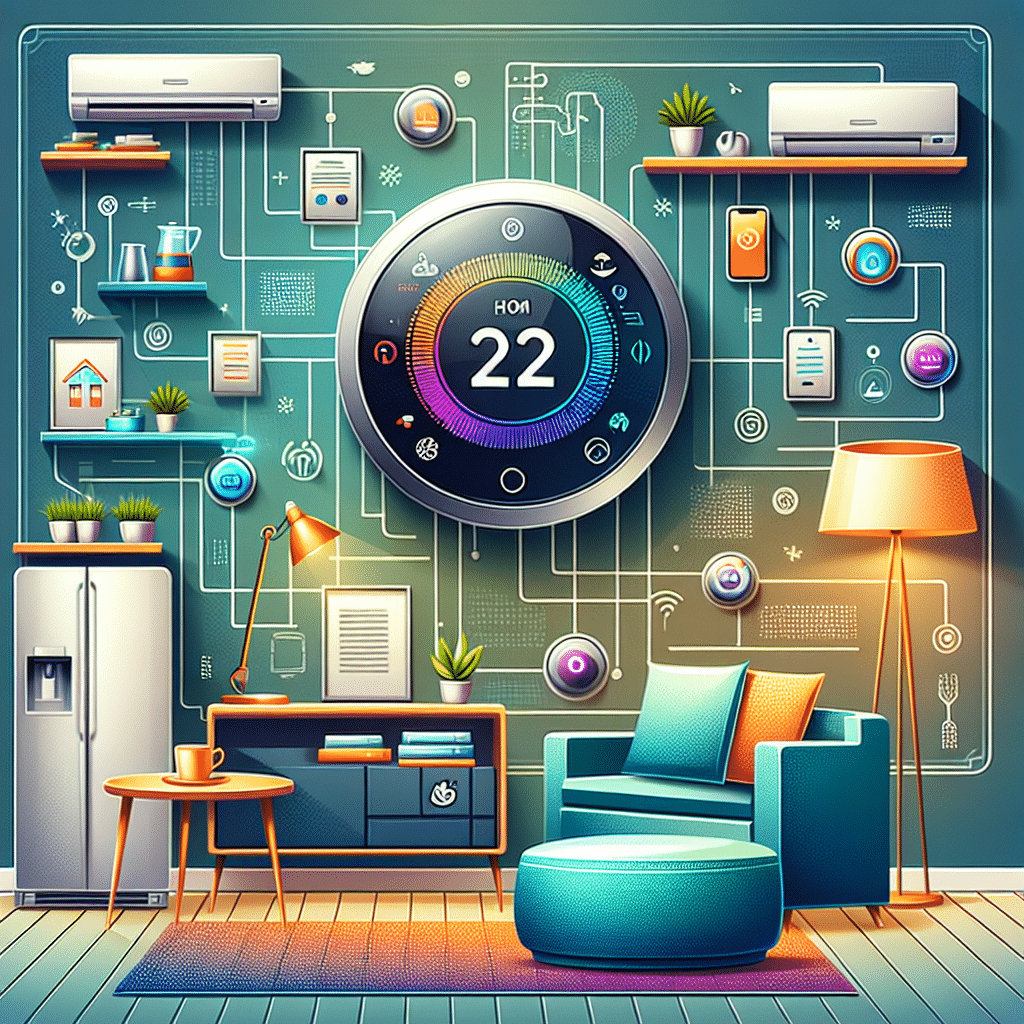
Smart thermostats are innovative devices that connect to your home’s Wi-Fi network, allowing for remote temperature control, energy usage monitoring, and improved energy efficiency. Brands like Nest, Ecobee, and Honeywell offer a variety of models tailored to different needs.
Choosing the Right Smart Thermostat
Before integration, it’s essential to select the right device:
-
Compatibility: Verify compatibility with your existing HVAC system. Most modern systems work with smart thermostats, but some older systems may not.
-
Features: Consider features such as learning capabilities, humidity sensors, geofencing, and energy reports. High-end models may offer voice control and integration with smart home systems.
-
User Interface: Ensure the thermostat has an intuitive user interface, making it easy to navigate settings and schedules.
Preparing for Installation
Once a model is selected, prepare for installation:
-
Read the Manual: Familiarize yourself with the installation instructions specific to your model.
-
Gather Tools: You’ll typically need a screwdriver, drill, painter’s tape, level, and possibly a wire stripper.
-
Turn Off Power: Prior to installation, turn off the power to the HVAC system at the circuit breaker to ensure safety.
-
Check Your Wiring: Remove the old thermostat and examine the wires. Note the letters marked on the terminals (e.g., R, Y, G, W) and their connections. It’s crucial to document these for proper installation.
Installation Steps
Follow these steps to install your smart thermostat:
-
Remove the Old Thermostat:
- Unscrew the old device from the wall.
- Carefully detach the wires, labeling them if necessary.
-
Install the Smart Thermostat’s Base Plate:
- Use a level to ensure the base plate is straight.
- Secure it to the wall using screws or anchors if necessary.
-
Connect the Wires to the Smart Thermostat:
- Match the wires you removed from the old thermostat to the corresponding terminals on the new device.
- If your smart thermostat requires a C-wire (common wire), and your system doesn’t have one, consider installing an adapter or seeking professional help.
-
Attach the Thermostat to the Base Plate:
- Once wired correctly, snap the smart thermostat onto the base plate.
-
Restore Power:
- Turn the power back on at the circuit breaker.
- The thermostat should power up, and you may see a setup screen.
Configuring Your Smart Thermostat
After installation, configure your thermostat:
-
Download the App:
- Each brand has a dedicated app available on Android and iOS. Download and create an account.
-
Connect to Wi-Fi:
- Follow in-app prompts to connect your thermostat to your home Wi-Fi network.
-
Set Preferences:
- Enter your preferences like heating and cooling schedules, comfort levels, and eco settings.
-
Enable Location Services (if applicable):
- This allows the thermostat to adjust based on your location using your smartphone for geofencing capabilities.
-
Explore Features:
- Test features such as scheduling, learning preferences, and energy reports to fully utilize the device’s capabilities.
Integrating with Smart Home Systems
For enhanced functionality, integrate your smart thermostat with your existing smart home ecosystem:
-
Amazon Alexa and Google Assistant:
- Link the thermostat to Alexa or Google Assistant for voice control. Enable the appropriate skill or action in your smart assistant app.
-
IFTTT (If This Then That):
- Use IFTTT for creating automated tasks. For instance, when you leave home, the thermostat can automatically enter energy-saving mode.
-
Smart Home Hubs:
- If you have a smart hub like Samsung SmartThings, integrate your thermostat for centralized control of all smart devices.
Maintenance and Troubleshooting
Regular maintenance is key to keeping your smart thermostat functioning optimally:
-
Clean Sensors and Vents: Dust accumulation can affect the thermostat’s efficiency. Regularly clean sensors and airflow vents in your HVAC system.
-
Check Power: If the thermostat does not function, check the circuit breaker and ensure the device is receiving power.
-
Update Firmware: Keep your thermostat’s software updated through the app to access new features and security enhancements.
-
Troubleshooting:
- Refer to the manufacturer’s troubleshooting guide for common issues, such as inaccurate readings or connection problems.
Enhancing Energy Efficiency
Utilizing your smart thermostat effectively can lead to significant energy savings:
-
Set a Schedule: Create a heating/cooling schedule based on your daily routine. This ensures the system operates only when needed.
-
Utilize Eco Mode: Most smart thermostats come with an eco or energy-saving mode. Use this feature when you are away from home for extended periods.
-
Monitor Energy Reports: Many devices offer insights into your energy usage. Analyze these reports to identify trends and adjust settings accordingly.
-
Zoned Heating/Cooling: If possible, set up zone control in your home to heat or cool only the areas in use, maximizing comfort and savings.
Utilizing Additional Features
Explore the advanced features your smart thermostat may offer:
-
Adaptive Learning: Models like Nest learn your behavior over time and adjust the temperature accordingly, optimizing for comfort without manual input.
-
Humidity Control: Some models can monitor humidity levels, adjusting your HVAC operation to improve comfort and air quality.
-
Alerts and Reminders: Set alerts for filter changes and maintenance needs to extend the life of your HVAC system.
-
Integrate with Other Smart Devices: Connect with smart lighting, blinds, and ceiling fans to create a comprehensive smart home ecosystem that enhances comfort and energy efficiency.
Conclusion
Integrating a smart thermostat into your home not only enhances your comfort but also contributes to significant energy savings and improved efficiency. By selecting the right device, following proper installation protocols, and utilizing the available features fully, you can create a seamless and effective temperature control system tailored to your lifestyle.
