Understanding Smart Thermostats
Smart thermostats are advanced devices designed to enhance energy efficiency and user comfort by allowing homeowners to remotely manage their heating and cooling systems. With features like learning algorithms, usage analytics, and mobile app integration, these devices optimize energy use, thus reducing utility bills.
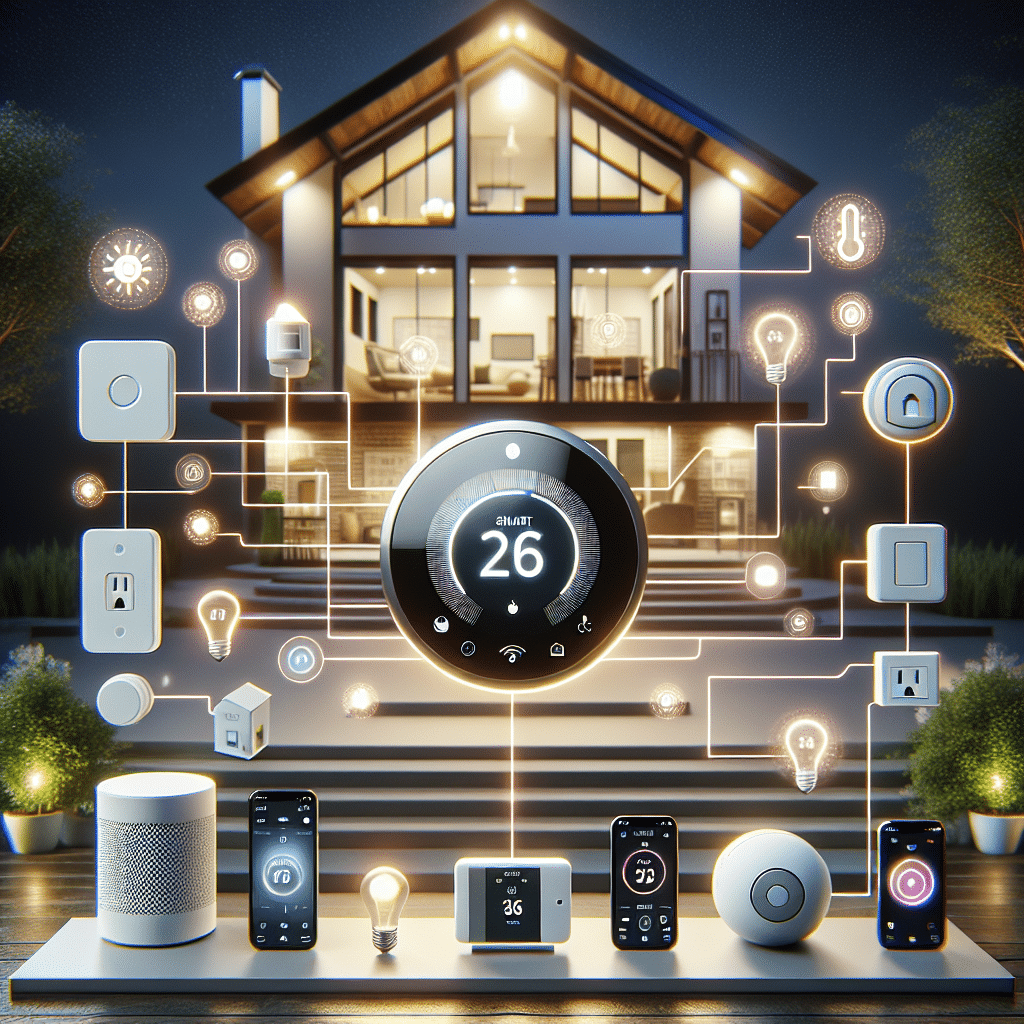
Key Features to Look For
- Wi-Fi Connectivity: A critical feature that allows the thermostat to connect with your home network for remote control.
- Mobile App Control: Most smart thermostats come with companion apps, enabling you to adjust settings from anywhere.
- Geofencing Capability: This feature detects your location via your smartphone to adjust the temperature based on whether you’re home or away.
- Energy Usage Reports: Many models provide insights into energy consumption patterns, helping you identify ways to save.
- Integration with Other Smart Devices: Compatibility with smart home systems like Amazon Alexa, Google Assistant, or Apple HomeKit enhances functionality.
Choosing the Right Smart Thermostat
When choosing a smart thermostat, consider compatibility with your heating and cooling systems. Some thermometers work best with gas, electric, or heat pump systems, while others may only be compatible with specific types. Research user reviews and product comparisons to pinpoint devices that suit your particular needs.
Tools Required for Installation
- Screwdriver (flat and Phillips head)
- Drill (if needed for mounting)
- Level
- Smartphone for app setup
Step-by-Step Installation Guide
1. Turn Off Power at the Circuit Breaker
Safety first. Before beginning the installation process, ensure you turn off the power to your HVAC system at the circuit breaker. This will prevent any electrical mishaps and safeguard your equipment.
2. Remove the Existing Thermostat
Carefully remove your old thermostat from the wall. Use a screwdriver to detach it from its base and gently pull it away from the wall. Note the wiring connections, which you will need for your new device. It’s advisable to take a picture of the wiring for future reference.
3. Label the Wires
Using the labels provided with your new thermostat, label each wire according to the corresponding terminal. Common wire designations include:
- R/RC: Power supply from the transformer
- W: Heating control
- Y: Cooling control
- G: Fan control
- C: Common wire (for continuous power)
4. Disconnect the Old Wiring
After labeling, carefully disconnect the old wiring from their respective terminals. Ensure not to let the wires retract into the wall, as this can complicate reconnection.
5. Mount the Smart Thermostat Base
Follow the manufacturer’s instructions to mount the base of your new smart thermostat onto the wall. Utilize a level to ensure proper alignment before securing it with screws. If you need to drill holes, be sure to check for electrical wiring or plumbing to avoid damage.
6. Connect the Wires
Refer to the photograph you took, and connect the labeled wires to the corresponding terminals on the new thermostat. Ensure the wires are securely fastened, preventing any loose connections.
7. Attach the Thermostat Display
Once the wires are connected, attach the display of the smart thermostat according to the manufacturer’s instructions. It may simply snap into place or require additional screws.
8. Restore Power
Go back to your circuit breaker and restore power to your HVAC system. Verify that the smart thermostat powers on and displays information as intended.
Configuring Your Smart Thermostat
1. Download the Mobile App
Go to the Apple App Store or Google Play Store and download the app associated with your smart thermostat. Create an account if prompted.
2. Connect to Wi-Fi Network
Once the app is installed, follow the on-screen instructions to connect the thermostat to your home Wi-Fi. You may need to enter your Wi-Fi password for connectivity.
3. Follow Setup Instructions
Most smart thermostats offer a guided setup process through the mobile app. This will include configuring temperature schedules, preferences, and notification settings.
Integration with Smart Home Systems
Several smart thermostats allow integration with platforms like Amazon Alexa and Google Assistant. To enable voice control, simply follow these steps:
- Open the Alexa or Google Home app.
- Go to the ‘Devices’ section.
- Click ‘Add Device’ and select the thermostat brand.
- Sign in with your thermostat account to link the devices.
This integration enables you to adjust temperature settings through voice commands, adding convenience to your home automation system.
Regular Maintenance Tips
To ensure consistent performance, regular maintenance is crucial:
- Change Air Filters: Replace filters regularly to avoid strain on your heating and cooling systems.
- Firmware Updates: Keep your thermostat’s firmware updated for optimal performance and security.
- Seasonal Adjustments: Review and adjust schedules for seasonal changes to maximize efficiency and comfort.
Troubleshooting Common Issues
If you experience connection issues, try these troubleshooting steps:
- Ensure that the thermostat is connected to the correct Wi-Fi network.
- Check that your mobile device has internet access and is running the latest app version.
- Restart your thermostat by turning off the power at the circuit breaker and turning it back on.
- If the thermostat fails to heat or cool, verify wiring connections and ensure the HVAC system is functioning correctly.
Energy Savings
Utilizing a smart thermostat can significantly lower your energy bills. By employing features like adaptive scheduling and humidity control, these devices tailor heating and cooling to your habits and preferences, reducing waste and promoting energy efficiency.
Conclusion
Integrating a smart thermostat into your home enhances climate control, which promotes comfort and efficiency while also making it easier to manage energy consumption. With the right installation and setup, your smart home experience can become more convenient and sustainable.