Tools and Materials Required
Before beginning your installation, gather the necessary tools and materials. You will need:
- Smart thermostat (compatible with your HVAC system)
- Screwdriver (flat-head and Phillips)
- Drill with drill bits (if mounting is required)
- Level
- Wire stripper
- Voltage tester
- Electrical tape
- A pencil for marking
- Smartphone or tablet (for app setup)
Step 1: Turn Off Power
To ensure safety, turn off the power to your HVAC system at the circuit breaker. This prevents any electrical accidents during installation. Verify that the power is off by checking the existing thermostat; it should not light up or display any information.
Step 2: Remove the Existing Thermostat
Carefully remove the old thermostat. Start by taking a picture of the wiring for reference during installation. Unscrew the thermostat from the wall and gently pull it away from the wall plate. You may encounter wires attached to the thermostat—take note of the color coding and the terminals they connect to (R, Y, G, W, etc.).
Step 3: Label the Wires
Using the photo as a reference, label each wire with masking tape or a wire marker, indicating where each wire connects (e.g., R for red, W for white). This will simplify the connection process for your new smart thermostat.
Step 4: Disconnect the Wires
Once labeled, gently disconnect the wires from the terminals on the old thermostat. Be cautious not to damage the wires or the wall plate during this step.
Step 5: Check Compatibility
Before proceeding, ensure your HVAC system is compatible with the new smart thermostat. Most smart thermostats offer compatibility checkers on their websites. Common systems include multi-stage heating and cooling systems, heat pumps, and conventional systems.
Step 6: Mount the New Thermostat Base
Follow the manufacturer’s instructions to mount the new thermostat base. If you are replacing an old wall plate with a new one, ensure the new base is level. Use a level tool for accuracy. Mark the screw holes with a pencil, then drill pilot holes if necessary. Secure the base to the wall with screws provided in the installation kit.
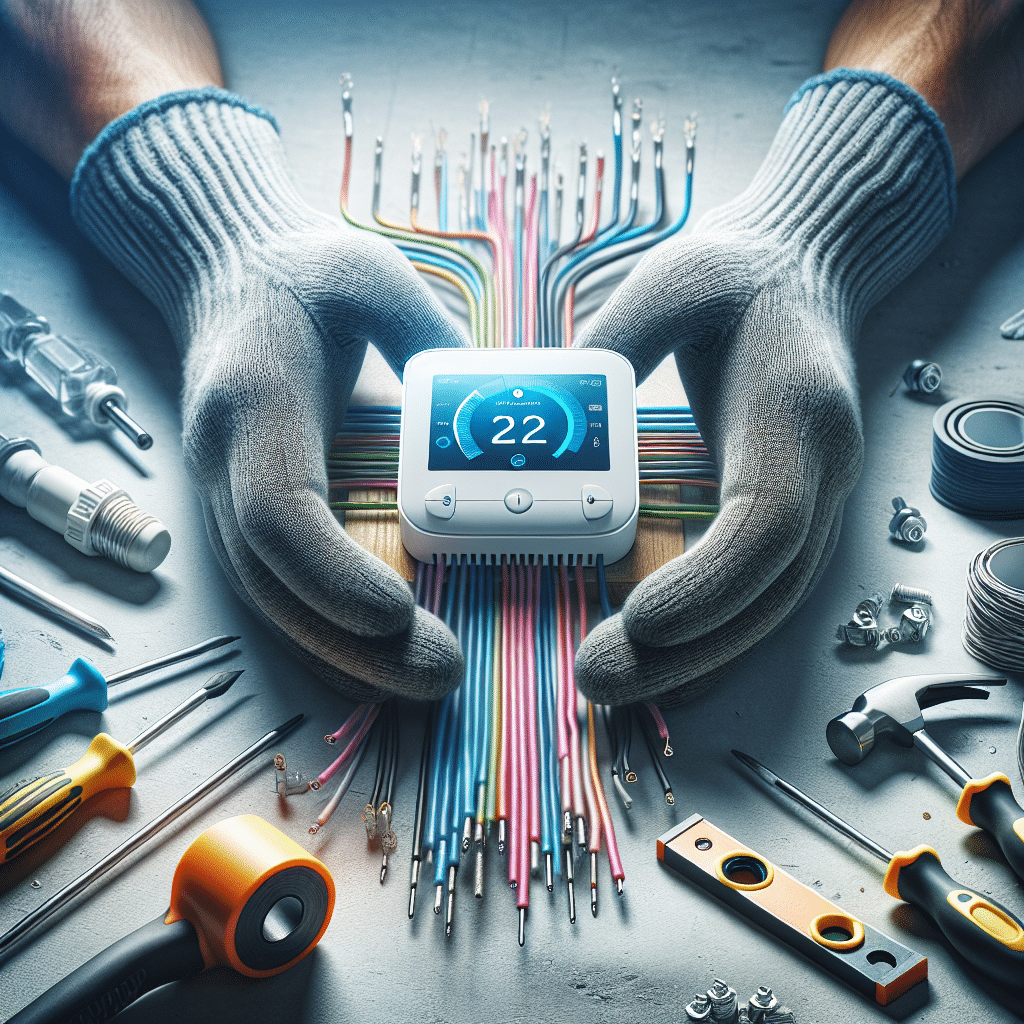
Step 7: Connect the Wires
Now, connect the labeled wires to the corresponding terminals on the new smart thermostat. Each color typically corresponds to a certain function:
- R (Red): Power (24V HVAC)
- W (White): Heating
- Y (Yellow): Cooling
- G (Green): Fan
- C (Blue or Black): Common (used for Wi-Fi enabled models)
Ensure that the wires are securely attached; gently tug on each wire to confirm it’s connected.
Step 8: Connect the Common Wire (if applicable)
If your smart thermostat requires a common wire (C wire) for power, confirm that you have one. If not, some models offer an alternative, such as a power adapter to be installed at the HVAC control board. Follow the manufacturer’s instructions for your specific model.
Step 9: Attach the Thermostat Display
Once the wiring is complete and solidified, attach the thermostat display to the wall-mounted base. Usually, this requires a simple press or slide into place until you hear a click signaling it’s secure.
Step 10: Turn the Power On
Return to the circuit breaker and switch the power back on. Check to see if your thermostat powers on. If it doesn’t, double-check the wiring and ensure all connections are secure. Use the voltage tester to verify that there’s power to the thermostat.
Step 11: Setup the Smart Thermostat
Follow the manufacturer’s setup instructions, which typically involve:
-
Download the App: Most smart thermostats have a companion app. Download and install it on your smartphone or tablet.
-
Create an Account: Register for an account or log in if you already have one.
-
Connect to Wi-Fi: Follow the app’s instructions to connect your thermostat to your home Wi-Fi network. Usually, this involves selecting your network and entering the password.
-
Personalization: Set up preferences such as scheduling, temperature range, and location settings. Many smart thermostats allow you to create schedules based on your daily routine for enhanced energy efficiency.
Step 12: Test the System
After setup, test your HVAC system to ensure everything is functioning as expected. Adjust the thermostat settings to trigger heating and cooling functions. Check if the temperature changes reflect your commands. Allow time to confirm if programmed schedules operate correctly.
Step 13: Optimize Settings for Efficiency
Adjust your smart thermostat settings to optimize energy efficiency. Utilize features such as:
- Home/Away Mode: This detects whether you’re at home and adjusts the temperature accordingly to save energy.
- Geofencing: Some devices use your smartphone’s location to adjust the temperature when you leave or get close to home.
- Energy Reports: Monitor your energy usage through the app, allowing you to adjust schedules to optimize savings.
Maintenance and Troubleshooting Tips:
- Regular Updates: Ensure your thermostat firmware is updated through the app for optimal performance and security.
- Replace Air Filters: Regular maintenance of your HVAC system, including changing filters, will improve efficiency and lifespan.
- Check Wi-Fi Connectivity: If your smart thermostat becomes unresponsive, verify that your Wi-Fi network is functioning.
Conclusion
By following this detailed guide, you can wire and install a smart thermostat safely and effectively, enhancing both your comfort and energy efficiency. Whether opting for advanced features or sticking with basic scheduling, a properly installed smart thermostat can lead to significant energy savings and a more comfortable living environment.