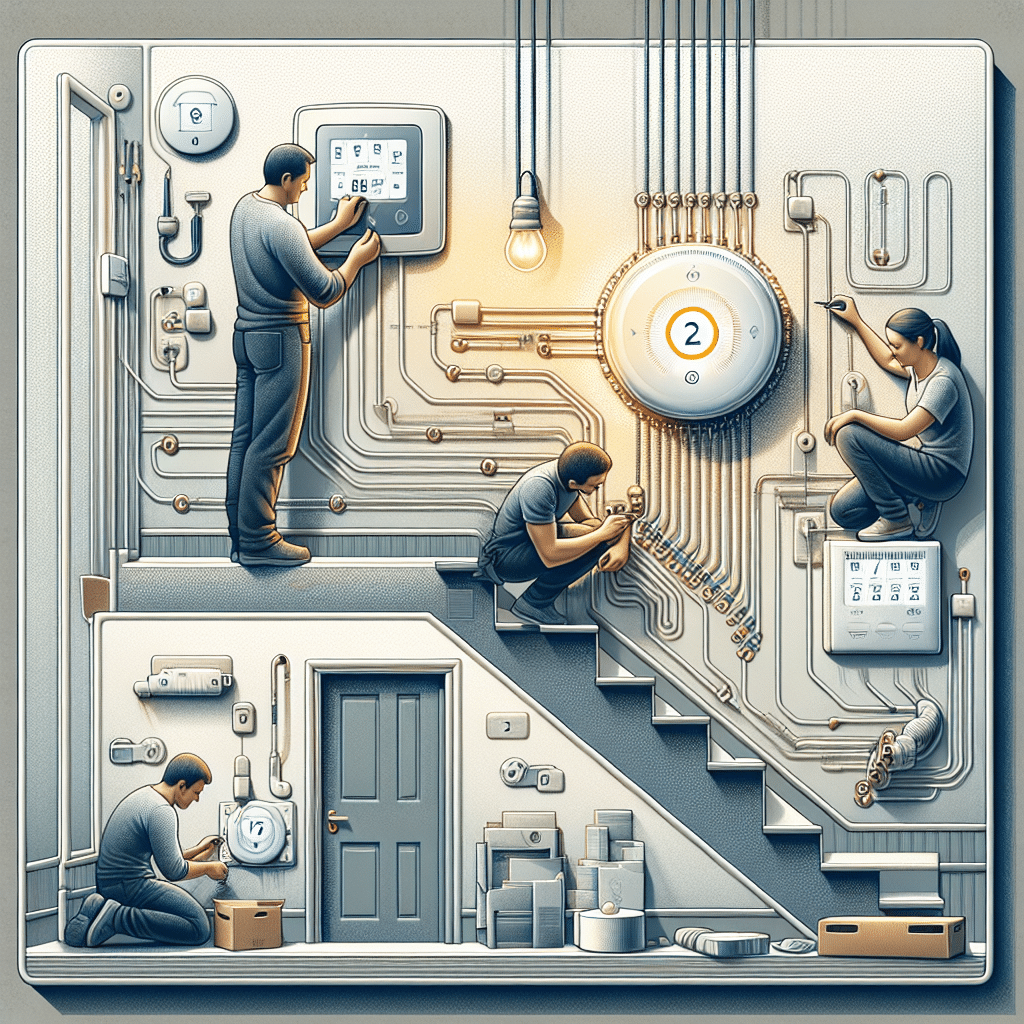
Step-by-Step Guide to Installing a Smart Thermostat
1. Gather Necessary Tools and Materials
Before beginning the installation process, ensure you have the following tools and materials ready:
- Smart thermostat
- Screwdriver (flathead and Phillips)
- Drill (if necessary)
- Level
- Smartphone or tablet (for app setup)
- Wire labels (optional but recommended)
- Safety glasses
2. Choose the Right Smart Thermostat
Not all smart thermostats are compatible with every HVAC system. Check your heating and cooling setup:
- Single-stage systems: Compatible with basic smart thermostats.
- Multi-stage systems: Require more advanced models.
- Heat-only or cool-only systems: Verify compatibility.
Review specifications and features such as Wi-Fi capability, scheduling options, and integration with smart home systems.
3. Turn Off Power to the HVAC System
Safety is paramount. Locate the circuit breaker that powers your HVAC system and turn it off. Verify that it’s off by attempting to turn your heating or cooling system on at the thermostat before proceeding.
4. Remove Existing Thermostat
- Carefully remove the cover of your existing thermostat. If it’s stuck, use a flathead screwdriver to pry it off gently.
- Take a photo of the wiring configuration. This will be useful when connecting your smart thermostat.
- Unscrew the thermostat from the wall and disconnect the wires. Use wire labels to mark each wire according to the terminal it was attached to (e.g., R, W, Y, G).
5. Install the Mounting Plate
- Check the wall where you intend to mount the new thermostat. Ensure it’s free of debris and any uneven surfaces.
- Align the mounting plate of your new thermostat using a level to ensure it’s straight.
- Mark the placement of the screw holes with a pencil.
- Drill holes (if necessary) for anchors, then secure the mounting plate with screws provided in the package.
6. Connect the Wires
- Refer to the photo you took earlier, and connect the wires to the corresponding terminals on your new smart thermostat:
- R (Red): Power from the transformer.
- W (White): Heat control.
- Y (Yellow): Cooling control.
- G (Green): Fan control.
- Loosen the terminal screws, insert the stripped wire into the terminal, and tighten the screws securely, ensuring that there is no exposed wire.
7. Attach the Thermostat Faceplate
Once the wiring is connected, carefully push any excess wire back into the wall. Align the thermostat’s faceplate with the mounting plate and snap it into place according to the manufacturer’s instructions.
8. Restore Power to the HVAC System
Go back to the circuit breaker, turn the power back on, and ensure the thermostat powers up. The display should illuminate, signaling that the installation has been successful up to this point.
9. Download the App
- Most smart thermostats come with a dedicated app. Search for the application in the App Store or Google Play Store on your smartphone or tablet.
- Download and install the app, then create an account if required. Follow the prompts to connect your thermostat to your Wi-Fi network. Make sure the Wi-Fi signal is strong enough at the installation location.
10. Configure Settings in the App
After connecting your thermostat to Wi-Fi, you’ll be prompted to configure settings within the app:
- Input your ZIP code for local weather forecasting.
- Create a personalized heating and cooling schedule based on your preferences.
- Enable features such as geofencing, which adjusts temperatures based on your location.
11. Test Your Smart Thermostat
- Set the thermostat to heating or cooling mode, depending on your current needs.
- Ensure that the HVAC system responds correctly by checking the temperature adjustments over the next few hours. Pay attention to comfort levels and ensure the system operates as expected.
12. Explore Additional Features
Many smart thermostats offer additional features to enhance convenience and efficiency:
- Energy Reports: Receive insights on your energy use through the app, which can help optimize settings for cost savings.
- Voice Control: Link with smart home assistants (like Amazon Alexa or Google Assistant) to adjust the temperature using voice commands.
- Remote Access: Control your thermostat even when away from home, ensuring optimal comfort and energy management.
13. Maintain Your Smart Thermostat
Regular maintenance is key to preserving performance. Consider these steps:
- Periodically check the filter in your HVAC system and replace it as needed. A clean filter maximizes efficiency and thermostat performance.
- Update the thermostat software through the app to ensure you benefit from the latest features and security improvements.
- Monitor seasonal energy usage reports to adjust habits for better savings.
14. Troubleshooting Common Issues
If you experience any issues, consult the troubleshooting guides provided by the thermostat manufacturer. Common problems can include:
- Connectivity issues: Restart your Wi-Fi router or the thermostat.
- Inaccurate readings: Ensure it is mounted away from direct sunlight or drafts.
- Unresponsive controls: Check battery placement or replace any required batteries.
15. Seek Professional Help if Necessary
If you encounter major issues with installation or your HVAC system does not respond as expected, it may be best to consult a professional HVAC technician. They can provide deeper insights and ensure that your smart thermostat functions optimally within the existing system framework.
Following these steps will allow you to successfully install a smart thermostat in your home, enhancing energy efficiency, comfort, and control over your indoor climate. Whether you’re tech-savvy or a complete novice, this guide aims to empower you to make your smart home aspirations a reality.
